

Hello! It's Heather McMahon back with you today to welcome you
to another photo tutorial in our Design Team 'Moment To Shine' series.
Today we have a simply sensational layout created by our Design Team member Galina Filippenko from the Ukraine. Galina used the stunning
mood board from our current challenge here as her inspiration. We saw a
sneak peek of Galina's project at the beginning of the month & now she is
back to share her full photo tutorial.

Galina was inspired by the sepia colours in the mood board as well
as the map pattern & travel theme. She took her holiday photo with a
vintage camera, using overexposure to create pretty pastel colors to
match the vintage feel of this month's mood board.

Here's a little about Galina:

"Hello everyone. My name is Galina Filippenko & my
nickname is Galachko. I live in Kiyv, the capital of
Ukraine. I'm in love with my city & its history.
nickname is Galachko. I live in Kiyv, the capital of
Ukraine. I'm in love with my city & its history.
I started scrapbooking about 2 years ago. My favourite style is nautical
as I love the sea! My style is experimental but I like mixed-media as well
as clean & simple styles most of all. I am crazy about stamping!
I love the smell of new paper & am a self-confessed paper hoarder.
as I love the sea! My style is experimental but I like mixed-media as well
as clean & simple styles most of all. I am crazy about stamping!
I love the smell of new paper & am a self-confessed paper hoarder.
I love to connect with people online. You can find my Blog here,
Facebook here, Pinterest here & Instagram here."
Facebook here, Pinterest here & Instagram here."
------------------------------------------------------------------------
1. Apply white gesso onto the background paper with a foam
sponge. This allows the gesso to blend softly.
sponge. This allows the gesso to blend softly.

2. Create texture with pieces of gauze, gluing them down with white gesso.

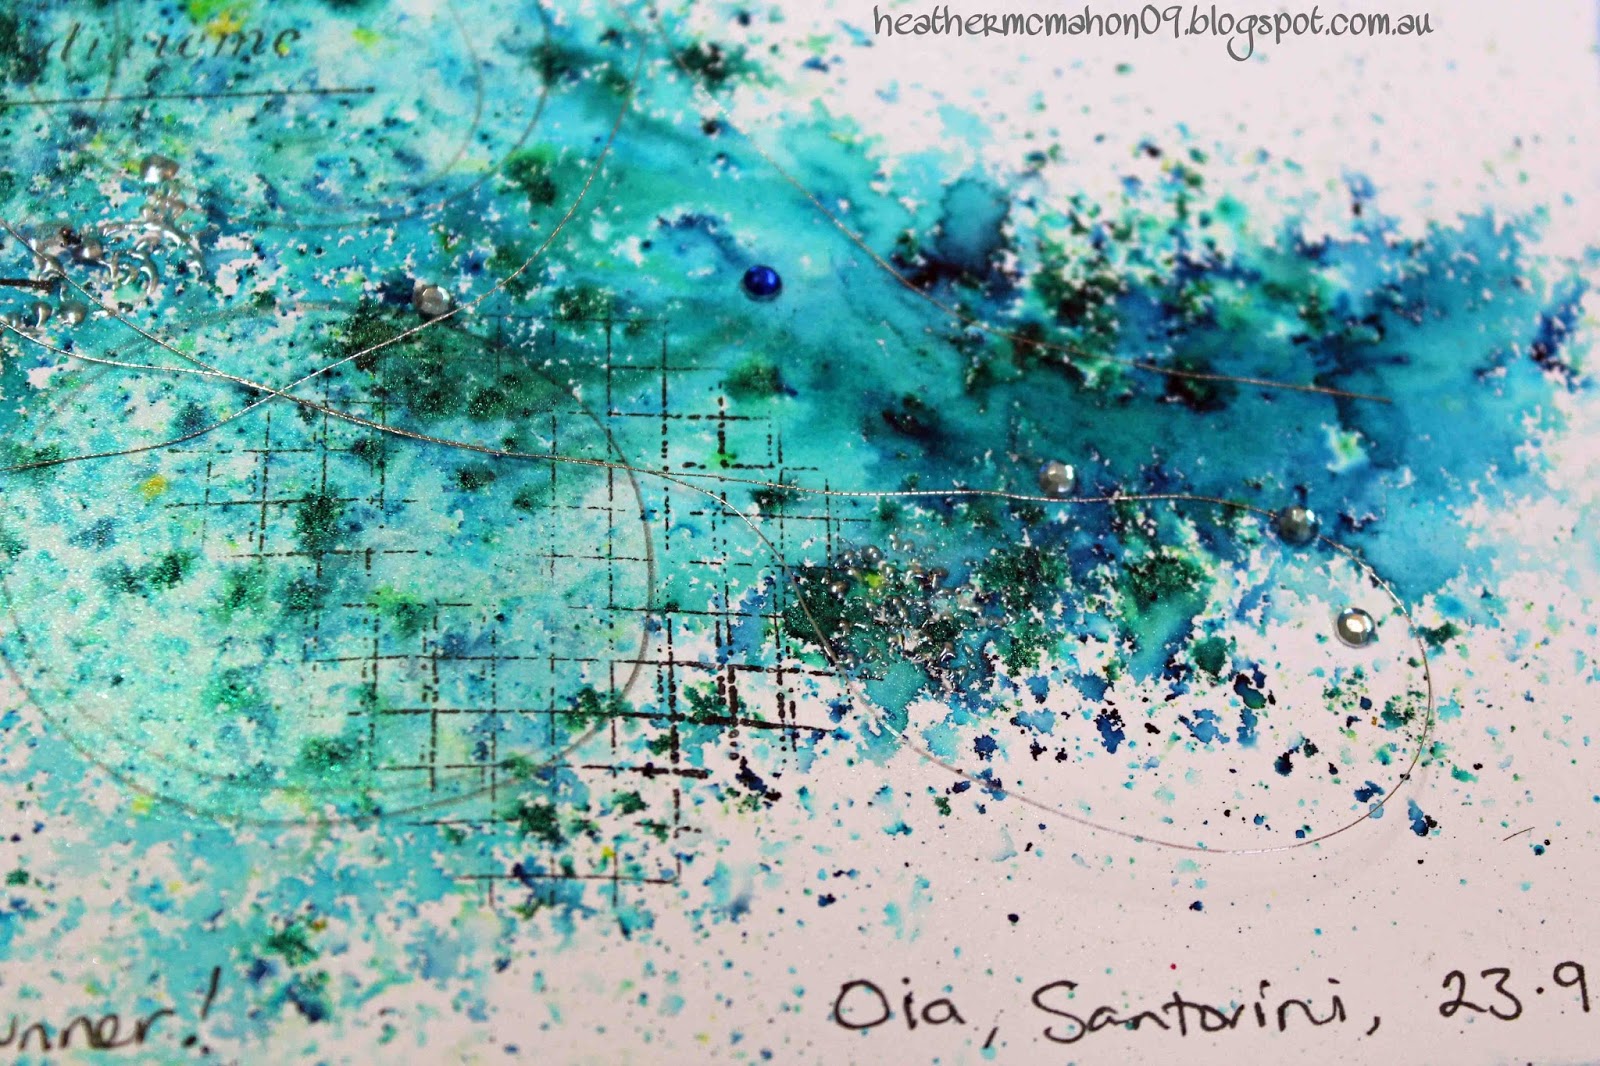
3. Spray a few similar colours over the area you want to colour.

4. Spray a contrasting colour in a few places.

5. Add accents with dark distress ink using a water brush or sponge.

6. Stamp over the area you've been working on. Combine a few
types of stamps such as script & geometric.

7. Choose papers & embellishments for your photo & glue in place.

8. Add texture paste with micro-beads under & around the
embellishments to complete the project.

Galina added transparent micro-beads to create waves beneath the photo.

Sprays blend beautifully on soft fabrics such as gauze.

Galina used different stickers to create her title on the layout.

The products Galina used:

Supplies List
Patterned paper & stickers - Prima {Seashore}
Sprays - Lindy's Stamp Gang - Ocean
Breeze Blue,Tilt a Wheel & Yellow Sun
Ink - Distress - Vintage Photo, Tea Dye
Chipboard - Scrapiniec - Doily
Acrylic structure gel - Pebeo
White Gesso - Goya
Wood, metal embellishments, paper flowers,
micro-beads,diecuts, gauze & gauze -stash
Please leave a comment if you enjoyed Galina's tutorial
& remember every comment you leave puts you in the running
to win our $50 FOLLOWERS' PRIZE from The Dusty Attic!
Remember - there are only 7 days left to enter this month's challenge!
To be in with a chance to win 1 of our 11 amazing prizes you'll need to be quick!
You can find the challenge details here.
Complied & posted by Heather McMahon


.jpg)